Build the Proto OmniWing
This is the wing Mike came up with in 1973 or 1974, and the one he recommends building first. It shares its first folds with the OmniWing, skips the twist, and finishes with a keel fold and a little nose weight. Easier, a bit less glide, still a flying wing.
- 1 sheet of letter paperOrdinary 8½ × 11 printer paper.
- Scotch Magic tapeTwo or three short pieces.
- Scissors and a penOne cut, a couple of marks.
- About 10 minutesA good one to teach a child, or a classroom.
How to read the diagrams
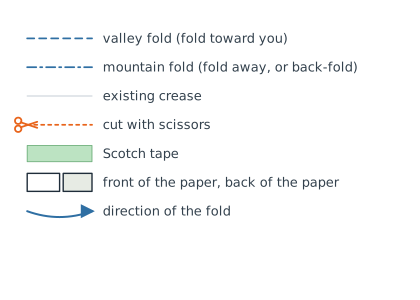
The nose is at the top of every drawing. Mike folds with the nose toward himself.
For the origami crowd, or the origami purist: if you're offended by tape and scissors, turn your head and walk away now.Mike, opening the Proto video
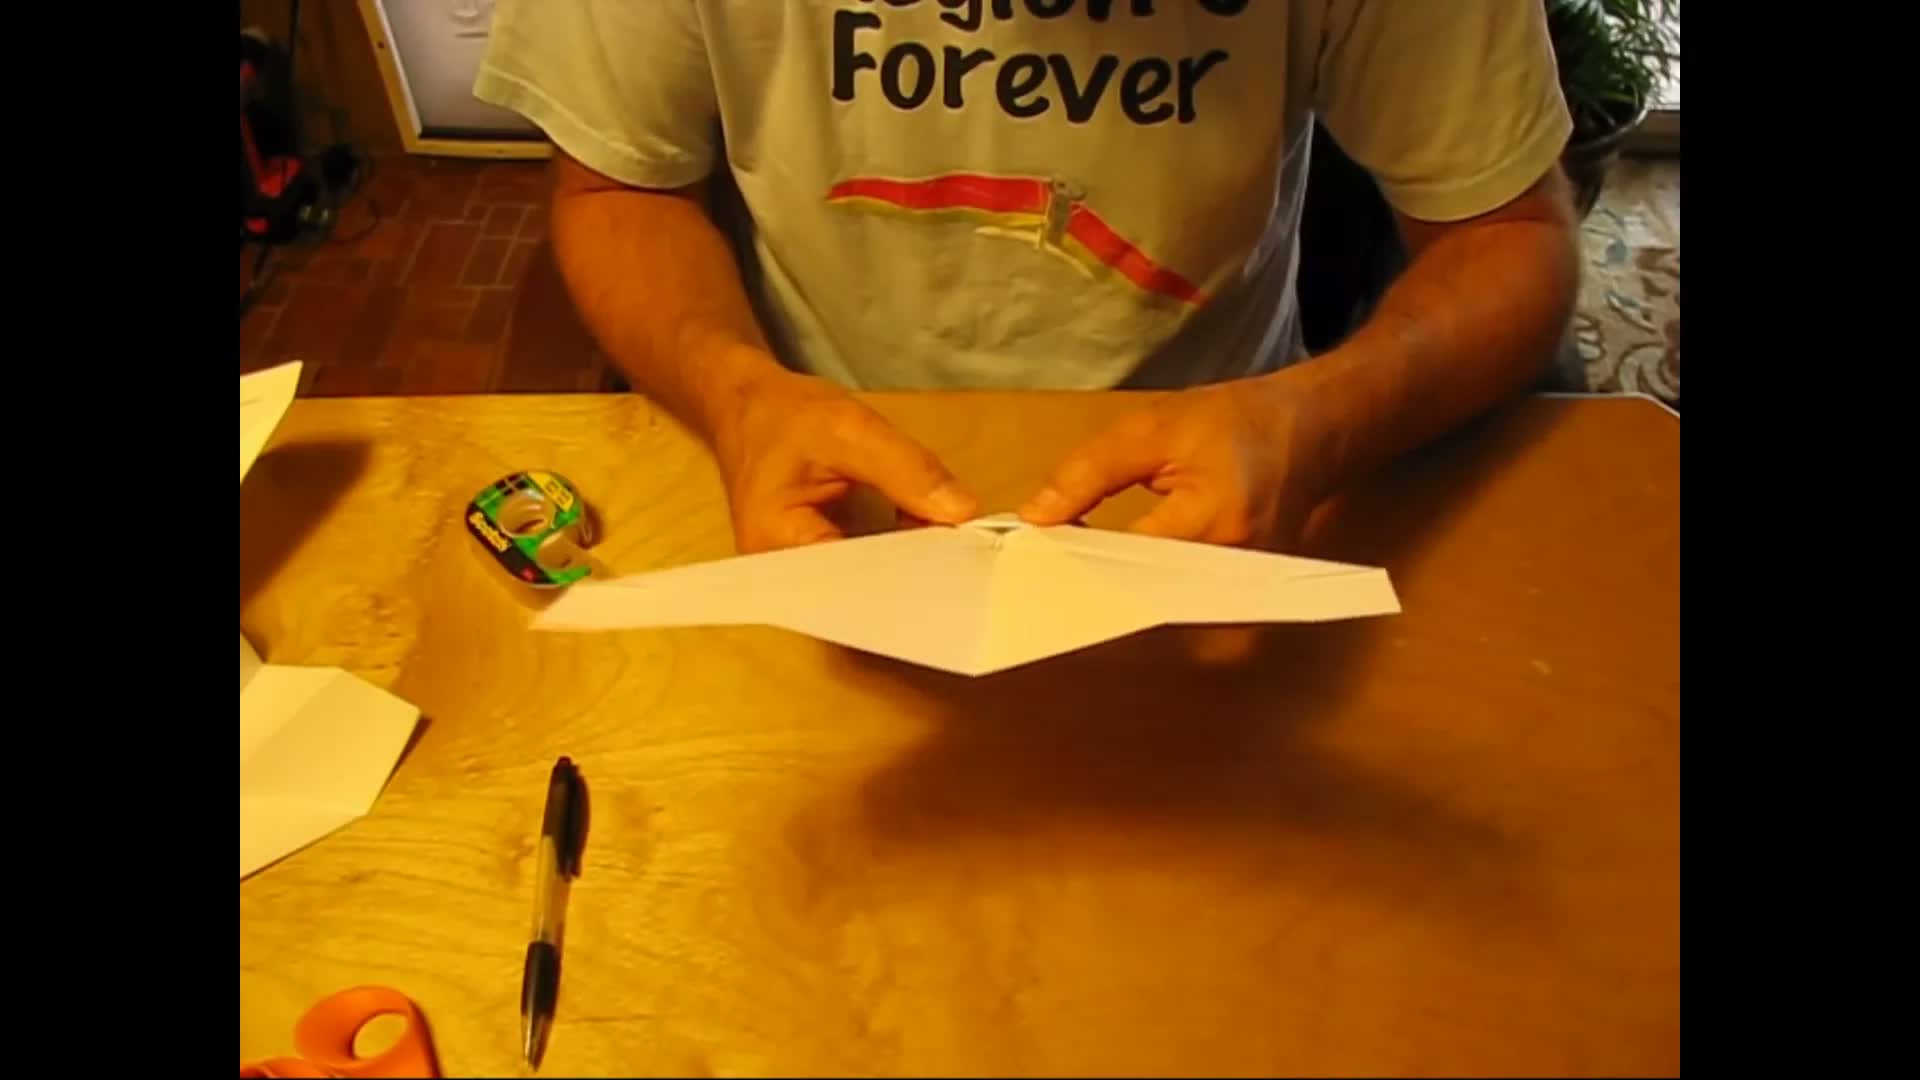
"Building the Proto OmniWing Paper Airplane", 2013. The first four minutes are Mike on darts, gliders and glide ratio; the player starts at the build.
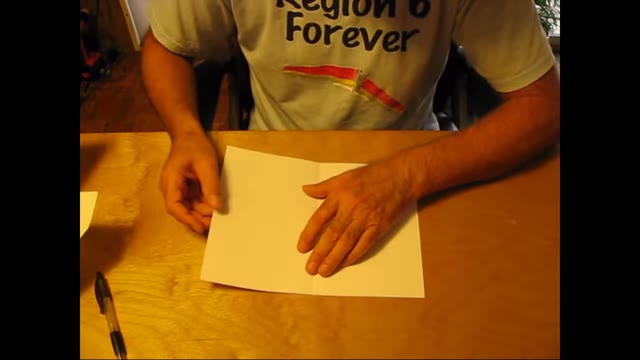
Fold in half the short way

Most paper airplanes start with a fold along the long side. Mike's start the other way: lay the sheet long side across, fold it in half so the short edges meet, crease it sharp, and open it again. The crease is the center line; the nose will be at the top.
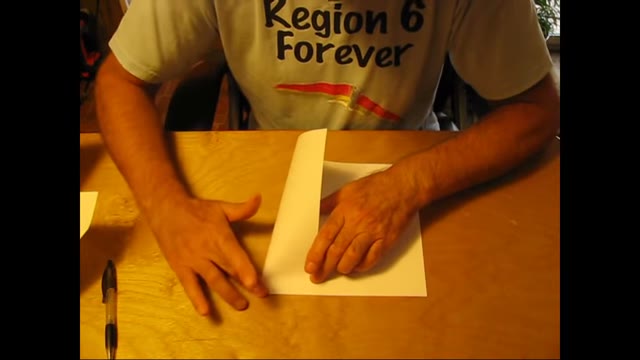
Pinch the quarter marks

Bring one side edge over to the center crease and pinch it at the very top edge, just enough to leave a mark. Don't crease the whole fold. Same on the other side. The marks sit a quarter of the way in from each side.
Fold the corners down

Fold each top corner straight down from its quarter mark to make a dog-ear. The corner's edge should end up pointing straight down the sheet. These don't have to be perfect.
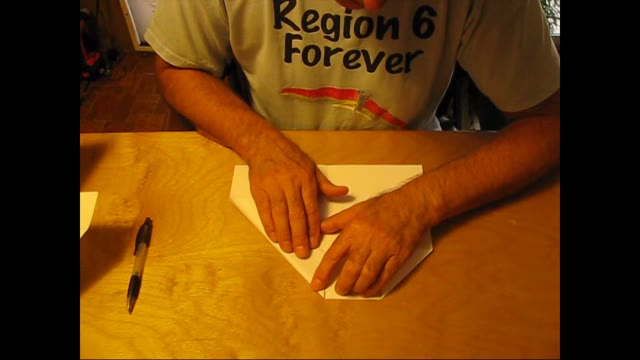
Fold the top edge to the center line

Starting right at the nose, fold the left side down so its top edge lies along the center crease, the way you'd start a dart. (On the OmniWing this fold is kicked out a few degrees; on the Proto it goes straight to the line.)
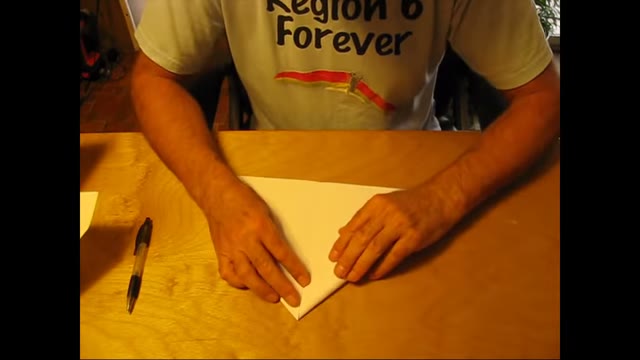
Back-fold and copy

Rather than guess at the second fold, fold the sheet in half backwards along the center crease so the first flap is underneath, then fold the right side down to match it. You can feel the fold through the paper. Open it up: two matching flaps meeting at the center.
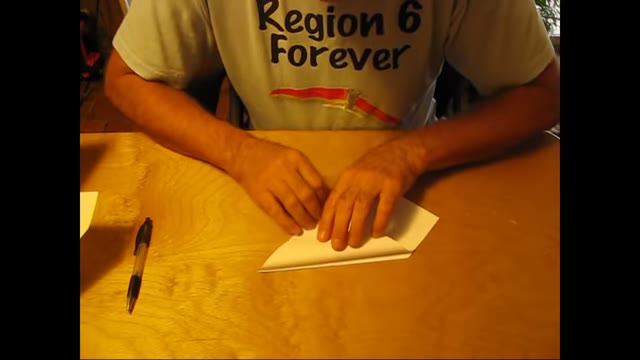
Fold the nose tab down

Find the two points where the flaps' folded corners reach the center line, about 2¾ inches back. Fold the nose tip down the center line to those points.
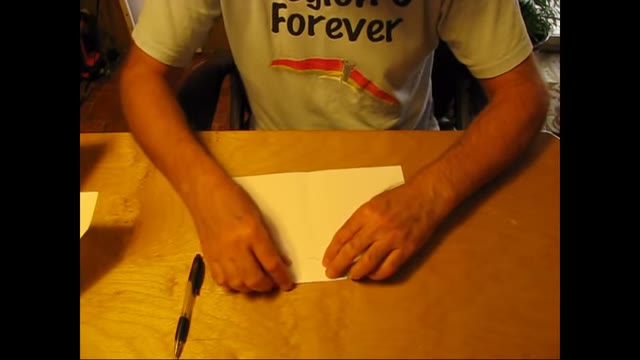
Roll the leading edges once more

Starting at the new nose point, fold the left leading edge over again, lining the new fold up with the previous fold underneath. Mike draws a pen line first so he can see where he's going. Back-fold on the center and copy it on the right, exactly as in step 5.
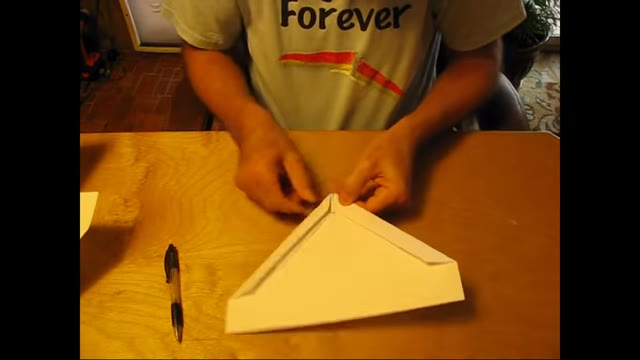
Tape the wing halves down

Bring out the tape. Run a strip along each rolled leading edge to hold the folds flat. That's all: on the Proto there is no twist to put in yet. Mike uses Scotch Magic tape because it holds well and has a little flex.
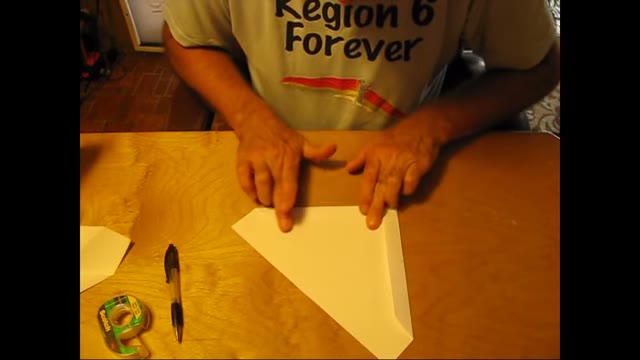
The keel fold

Fold the wing in half along the center. Now fold the top wing down along a line about half an inch from the center fold, running from the nose to the trailing edge. The nose is thick here: push a fingernail into the fold to get the roll started, then press it flat. Turn the wing over and do the same on the other side, matching the first fold.
Open it up like a butterfly. You have a small keel under the middle and two wings with a little dihedral.
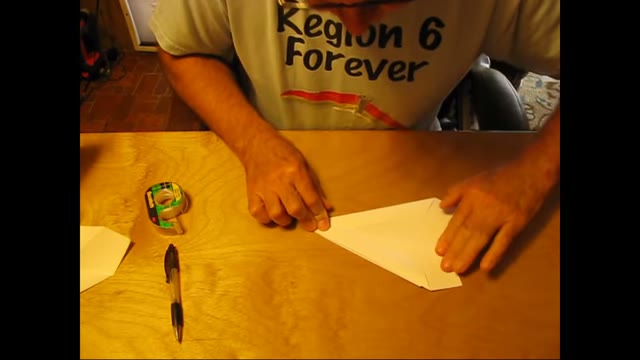
Cut a little sweep into the trailing edge

With the wing still folded in half, mark a point about an inch forward of the trailing edge at the wingtip and another an inch and a half to two inches forward at the center. Cut a straight line between them through both layers. The trailing edge now has a bit of sweep instead of running straight across.
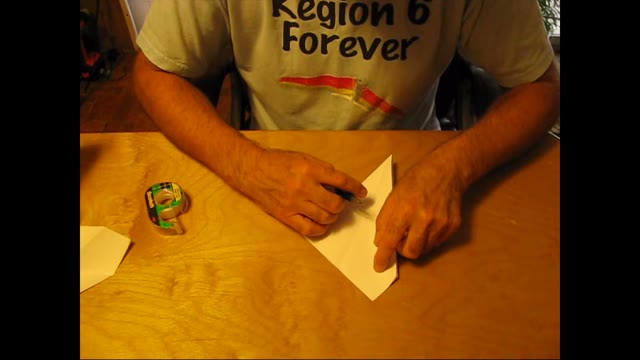
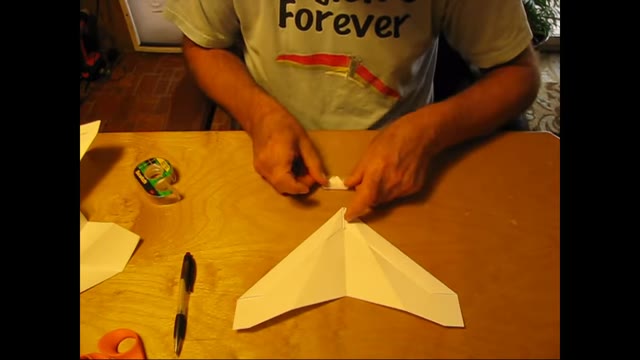
The nose weight

The strip you cut off becomes the nose weight. Fold it up on itself until you have a stubby little square, then fold the square corner to corner into a triangle about the size of a dime. There are a million ways to get there and Mike does it differently every time.
Tape the triangle on top of the nose, far enough back that none of it hangs over the leading edge. Tape it down on both sides. It puts weight on the nose and stiffens the middle of the wing: "we don't want a flappy wing."
Fly it
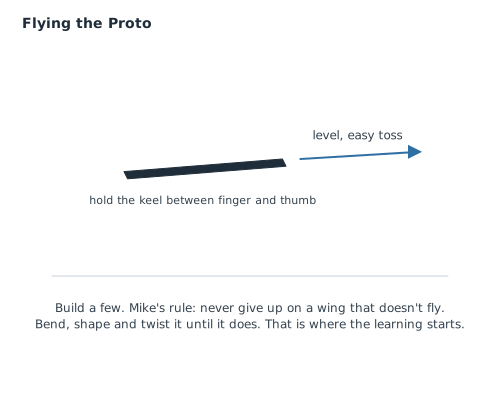
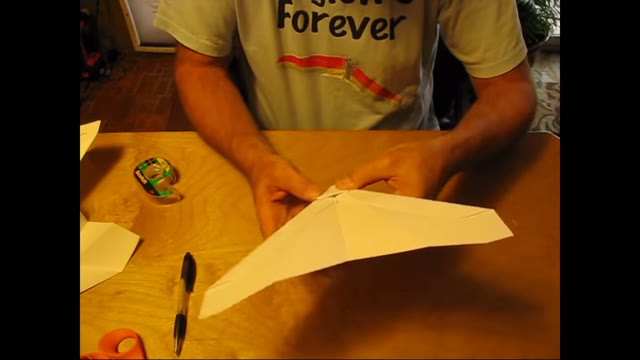
Hold the keel between finger and thumb, keep the wing level, and give it an easy toss. If it dives, curl the trailing edge up a little with a fingernail; if it stalls, flatten it back or add a bit more tape to the nose; if it turns, raise the trailing edge on the side it turns toward.
"Some of this I make look pretty easy, but you've got to build a few of them and get the idea of how to handle it. All in all, it's all for fun."
Next: the OmniWing
You already know the first six folds. The OmniWing kicks the first fold out a few degrees, tapers the leading edge, replaces the crude keel fold with a taped-in twist, and uses the cut-off paper for a real keel and leading-edge covers. Better glide, better sink rate, and it flies without tuning.
Build the OmniWing