Build the OmniWing
Fourteen steps, one sheet of paper. The folds are quick; the one step that takes practice is the twist, and the guide slows down there. Mike's 2009 video runs alongside every step, so you can watch his hands when the drawing isn't enough.
- 1 sheet of letter paperOrdinary 8½ × 11 printer paper, 20 lb. Nothing fancy.
- Scotch Magic tapeMike's choice: it sticks well and flexes a little. ¾ in wide is easiest.
- Scissors and a penThe pen is for marking fold points. Yes, scissors and tape. This is not origami.
- About 15 minutesLonger the first time. Build a second one straight after; it will be better.
How to read the diagrams
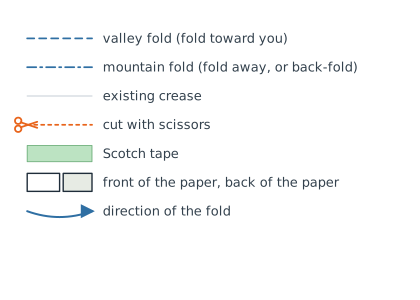
The nose is always at the top of the drawing. Mike works with the nose toward himself, so his video looks upside-down compared with the diagrams; the folds are the same.
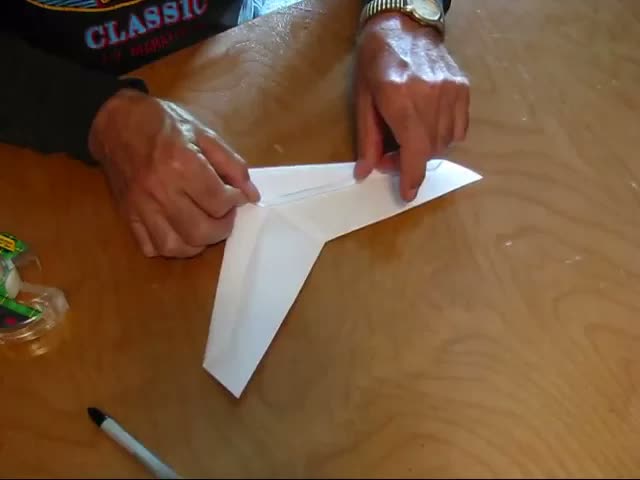
"Building the OmniWing Paper Airplane", 2009, over five million views. Loads from YouTube when you press play. The "watch Mike" buttons below jump the player to each step.
Fold in half the short way

Lay the sheet in front of you the long way across. Fold it in half so the two short edges meet, as if you were making a card, not a dart. Line the edges up carefully, press the crease sharp, then open it flat again.
That crease is the center line of your wing. The nose will be at one end of it, the top edge in these drawings.
Pinch the quarter marks

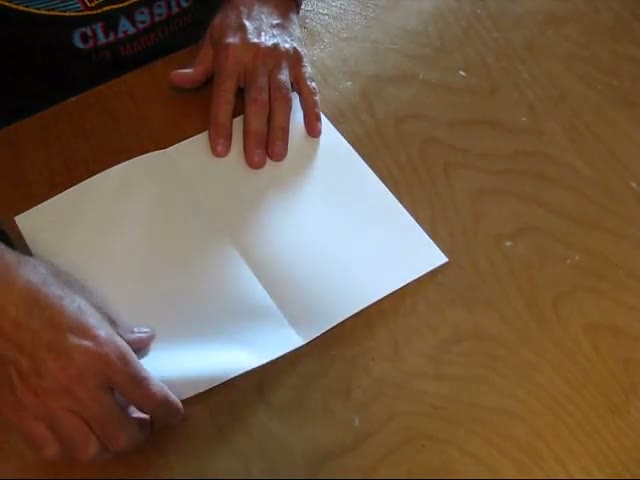
Bring the left edge over to the center crease, but don't fold the whole sheet. Just pinch the paper at the very top edge to leave a small mark, then let it go. Do the same with the right edge.
You now have two marks on the top edge, each a quarter of the way in from the sides (2¾ inches). You could measure, but the pinch is faster and just as good.
Fold the top corners down

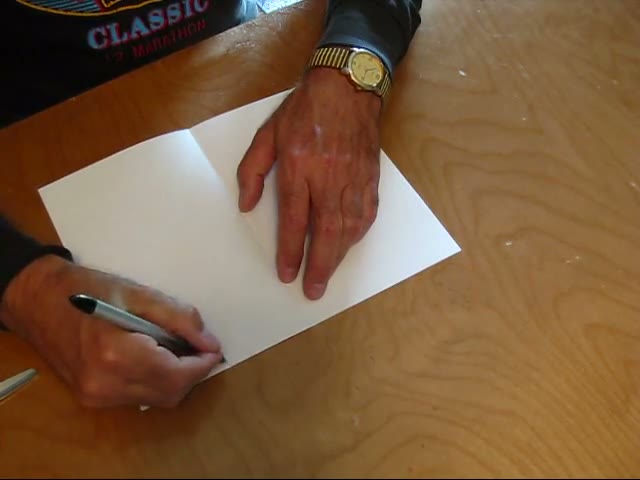
Fold the top-left corner down so the fold starts at the quarter mark and the corner's top edge ends up pointing straight down, square to the top edge. Same on the right. These are plain dog-ears, 45 degrees.
They don't have to be perfect. In Mike's words, this is not rocket science yet.
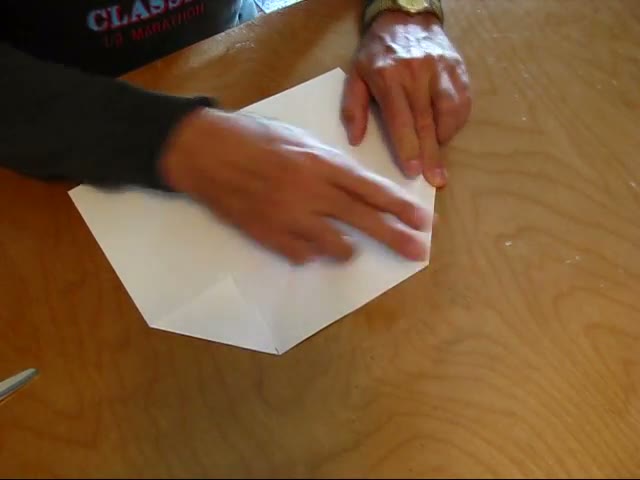
The first leading-edge fold, kicked out

Fold the left side down toward the center, starting the fold exactly at the nose, where the crease meets the top edge. Here is the OmniWing's first difference from a dart (and from the Proto): do not lay the folded edge on the center line. Kick it out a few degrees, so the edge leaves a narrow wedge of open paper beside the crease, about half an inch wide at its far end.
Draw a short pen line along the folded edge where it sits next to the crease. You will use it to match the other side.
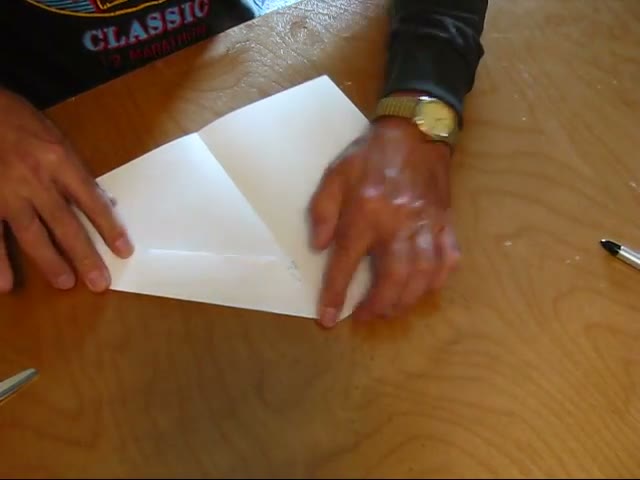
Copy the fold to the other side

Rather than eyeball the second fold, borrow the first one. Fold the whole sheet in half backwards along the center crease, so the flap you just made is on the outside, underneath. Now fold the right side down to match: you can feel the first fold through the paper and line the edges up with it.
Open the sheet. Both flaps should sit at the same angle, with a narrow V of open crease running down between them from the nose.
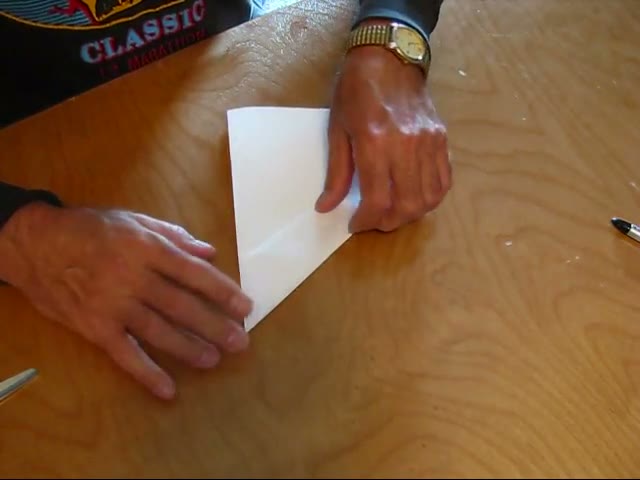
Fold the nose down

Look for the two points where the folded corners of the flaps meet, about 2¾ inches back from the nose on either side of the crease. Fold the nose tip straight down the center line until it reaches them, and crease.
The nose is blunt now, and there is more paper, and so more weight, up front, which is where a flying wing wants it.
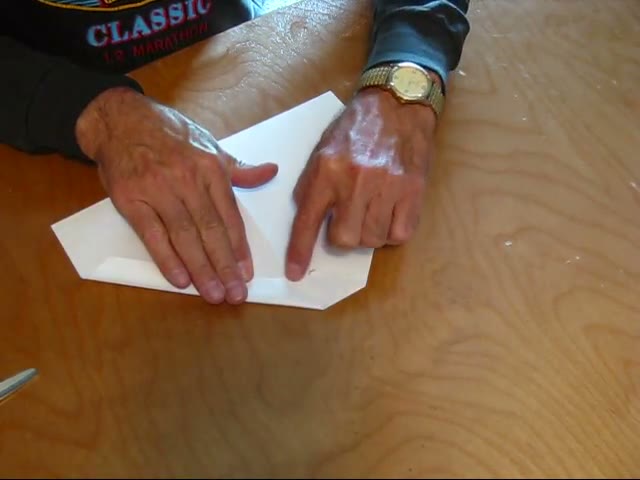
The second leading-edge fold

Roll the left leading edge over once more. Start the fold right at the new nose, on the center line, and run it out toward the wingtip. The fold roughly follows the leading edge, but angle it so the rolled band is about a third wider at the root than it is out near the tip. Mike calls this a nice tapered leading edge.
There is a lot of paper at the nose now. Work it with a thumbnail until it gives up and folds flat.
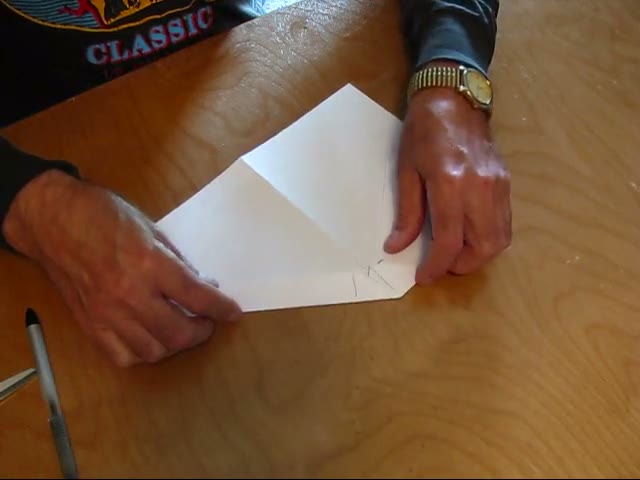
Copy it, then re-crease the center

Back-fold on the center once more and copy the second fold on the right side, lining the edges up with the fold underneath. Open the wing and re-establish the center crease so that, seen from the front, the wing makes a shallow V.
You now have a chevron with two thick, stiff leading edges and a lot of loose paper behind them. The rest of the build is about turning that paper into structure.
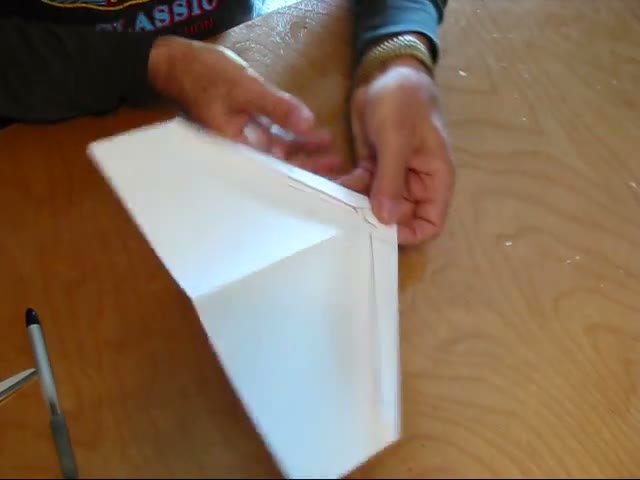
Tape in the twist

This is the step that makes it an OmniWing, and the one worth practising. Tear off a piece of tape about as long as the leading edge. Hold the nose with one hand. With the other, take the left wingtip and twist it so the tip's trailing edge comes up a little: the tip should look slightly nose-down compared with the center.
Keeping that twist, lay the tape along the top of the rolled leading edge, starting at the nose, and press it down a little at a time as you work outward. When you let go, the tape holds the twist. Do the right wing the same way, as evenly as you can.
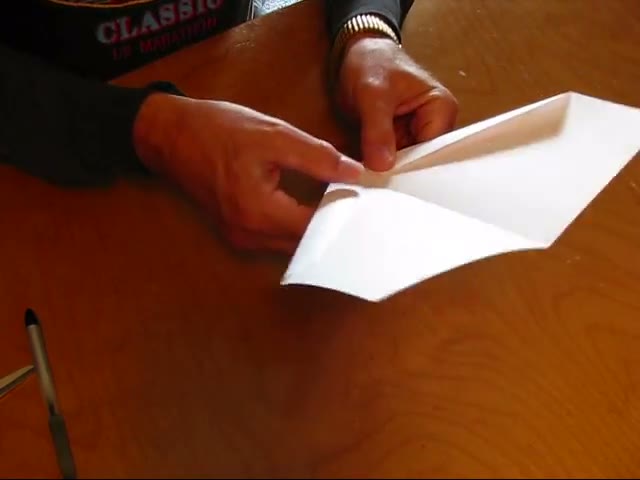
Cut the trailing edge

Fold the wing in half along the center with the leading edges together. On the folded edge, mark a point halfway from the nose to the trailing edge. On the wingtip edge, mark a point halfway along it. Draw a line between the two marks and cut along it through both layers.
You've removed about half of the paper behind the wing and given the trailing edge its sweep. Keep the cut-off piece: it becomes the keel and the leading-edge covers.
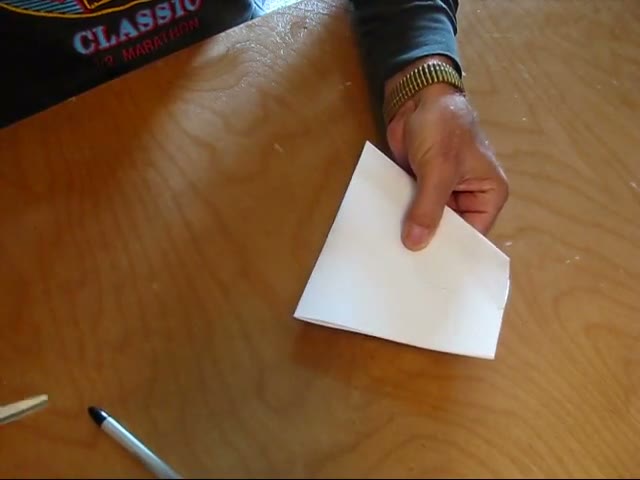
Make the keel

Keep the cut-off piece folded on its crease and cut a strip about an inch back from the fold. Open the strip: two inches wide, crease down the middle. Fold each long edge in to the crease, then fold it in half again. You have a stiff four-layer strip half an inch wide.
Lay it on top of the wing, centered on the center crease, flush with the nose, and run a piece of tape down each side of it to hold it. This keel gives the wing its rigidity fore-and-aft.
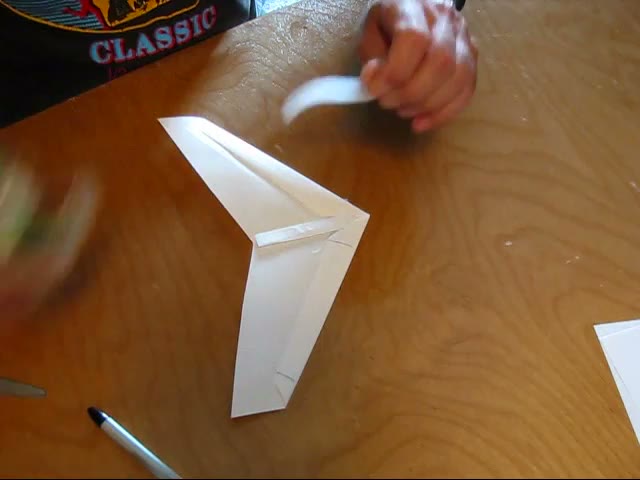
Fold and set the leading-edge covers

Two pieces of the cut-off are left, one for each wing. Fold each in half along its length so the edges match up. Lay a strip of tape along the folded edge with half of its width hanging off.
Set the piece on top of the wing right along the front of the leading edge, flush with the nose. Slide it until it lines up with the front edge, then wrap the overhanging tape around and under the leading edge. Do the second one the same way.
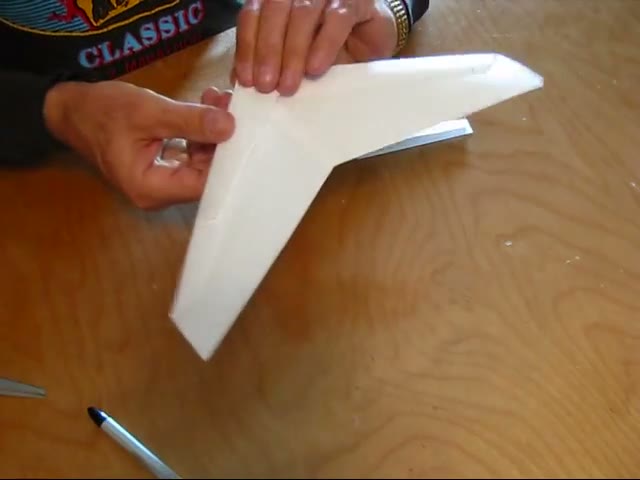
Tape the covers down without losing the twist

Lay tape along the back edge of each cover. Do not press the wing flat on the table to do it: that would squeeze your twist back out. Pick the wing up, start at the center and smooth the tape outward a little at a time while you let the wing keep its twist under your fingers.
Trim any tape hanging past the edges, and put a little extra over the nose to tidy it up and toughen it.
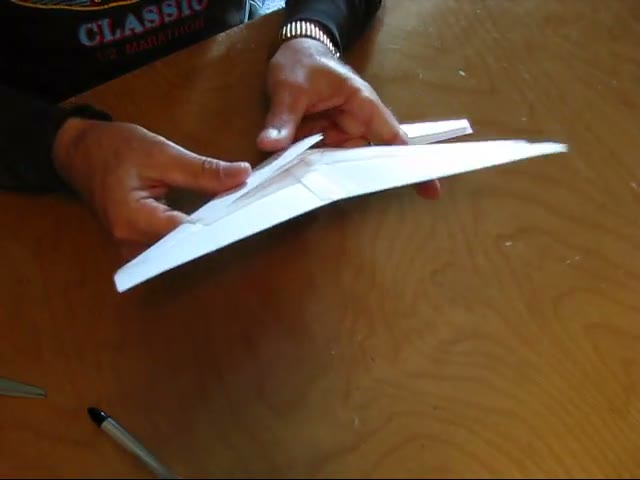
Fly it
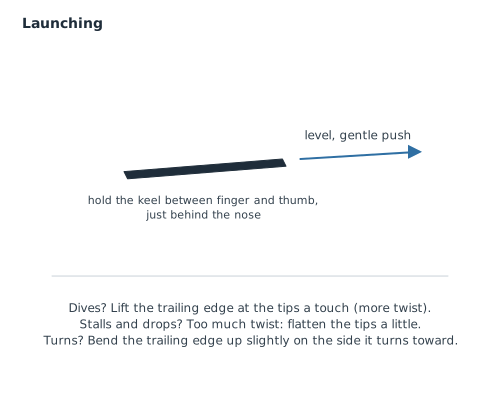
Hold the keel just behind the nose between thumb and finger. Hold the wing level and push it forward gently, about walking speed. It is a glider, not a dart: no altitude, no arm. It usually flies right off the drawing board without any tuning.
Indoors, a hallway or gym is ideal. Outdoors, wait for still air, or a light breeze and launch straight into it.
If it doesn't fly right
There are no moving parts, so you tune an OmniWing by bending it. Small changes; test after each one.
- It divesNot enough twist. Lift the trailing edge at both tips a touch, or add a little reflex: curl the trailing edge up with a fingernail.
- It noses up and dropsToo much twist, or too little weight up front. Flatten the tips a little. If that doesn't do it, add a strip of tape over the nose.
- It turnsCompare the two tips; one has more twist than the other. Raise the trailing edge slightly on the side it turns toward, or lower it on the other.
- It wobbles or fluttersSomething is loose. Check the covers are taped front and back and the keel is tight to the paper.
Never give up on a wing that doesn't fly. Try shaping and bending and twisting to get that thing to fly. When you've failed at something, now is when the learning begins.Mike Kelsey
What's next
Build two or three. Then try a different trailing-edge cut, or a narrower nose angle. When you want a wing that is faster, stiffer and happy outdoors, Mike's structural modifications and the two-sheet Advanced OmniWing are written up in the Advanced guide.
Haven't built the Proto yet? It is the simpler ancestor of this wing, and Mike recommends it first: build the Proto OmniWing.